Three years
ago, when I started this project, I wanted to know the process of turning flax
into linen. How difficult would it be to
grow, what difficulties were there in spinning, and exactly how bad did the
retting smell? I had heard it was a more
difficult fibre to process than wool but it seemed like such a fundamental part
of medieval life, that it had to be done!
After three
years I have learned you can over-ret and under-ret flax. I have learned you need to let the flax
seedpods dry before harvest or you won’t have enough seed for the next year.
And I’ve learned that pond retting smells worse than I’d thought possible.
Evidence of Linen use in the medieval period:
- Anglo-Scandinavian York, Distaffs and spindles (Walton Roger)
- Anglo-Saxon, Wakerley Grave 74, Tabby-Woven flax (Crowfoot) early 7th century
- Sutton Hoo pillows, diamond twill linen (Anglo-Saxon, East Anglia, 6-7th period)
- The Harvest
- Drying and Rippling
- Retting
- Drying… again
- Breaking and Scutching
- Heckling and Combing
- Spinning

November:
Preparing flax for linen,
Illuminated by Simon Bening (1483/84–1561)
Da Costa Hours, Belgium, Bruges, ca.
1515
For clothes to be made of linen, people had to be settled as flax takes several months to grow and even longer to process.
The Harvest

Flax takes most of the summer to grow. It is about a metre tall when it is ready to harvest, but it is necessary to let the seeds mature so that you will have a crop the following year.
Flax must be pulled, rather than cut. The fibre runs from the root to the tip, so to get the longest fibre possible, you pull the whole plant.

Last years’ flax (2nd year harvest) dried before “rippling” to remove seeds.

Second
years’ harvest. The fibre goes to the
root, so you pull it, rather than cutting it.
Drying and Rippling
The flax must be dried.
This may be achieved on a drying rack or by hanging. After the flax is dry, you have to remove the
seed pods (rippling). Children are very
useful for this purpose.


Twelve-year-olds
are useful for the threshing and winnowing process.
These are the second year seeds that we used to plant this
years’ crops.
Retting
Once the flax is rippled it must be retted. This is in fact,
“rotting”. It can be done either in a
pool of water, in running water, or it can be “dew retted” by laying it in the
grass and turning it often over several weeks.
The type of retting determines the colour of the final fibre – pond retted
is much lighter (and stinkier).
The purpose of retting is to separate the fibres from the
rest of the plant.
Once it is retted. It must be dried again. This is the part
of process that is most stressful. You
won’t know if the flax has been retted enough until it is dry. The first year, I barely had any fibre. The
second year, I forgot some of the flax in the stream and it over-retted.
Breaking
Once the flax is
dry you then break the stem, which falls away from the fibres.


The flax is broken to free the fibre from the chaff.

The twelve months with signs of the Zodiac, Print on paper, 1530-1562. British Museum
Scutching
You use a scutching knife, a wooden knife, to remove the chaff.

It turns out
five-year olds are too aggressive for “scutching”

Tapestry: Novembre
(The Months: November) made by Bartolomeo Suardi between 1504-1509
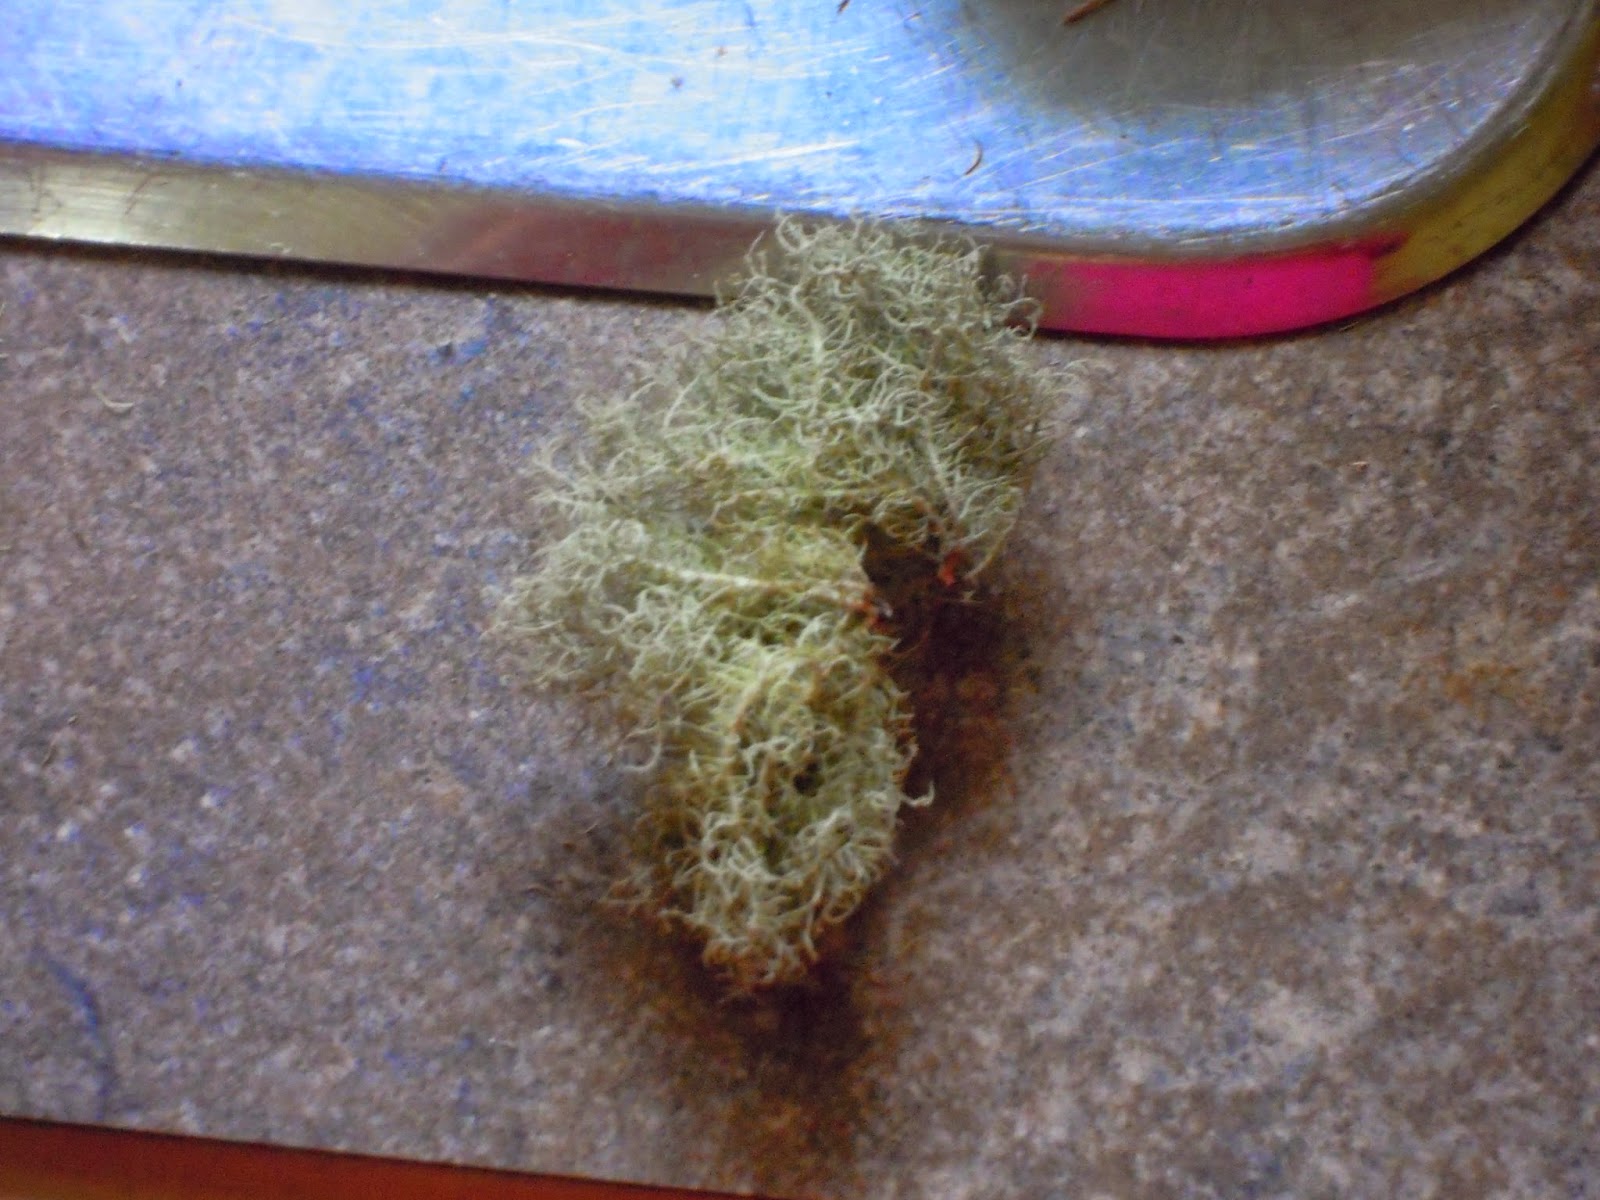
Heckling
You use sharp metal combs to remove the remaining chaff and
any of the fibre that might be too coarse to be good for spinning


Left:
Tow. This can be carded to produce shorter fibres for spinning
Right: Combed flax ready for spinning.

Woodcut, German Peasants spinning 1544
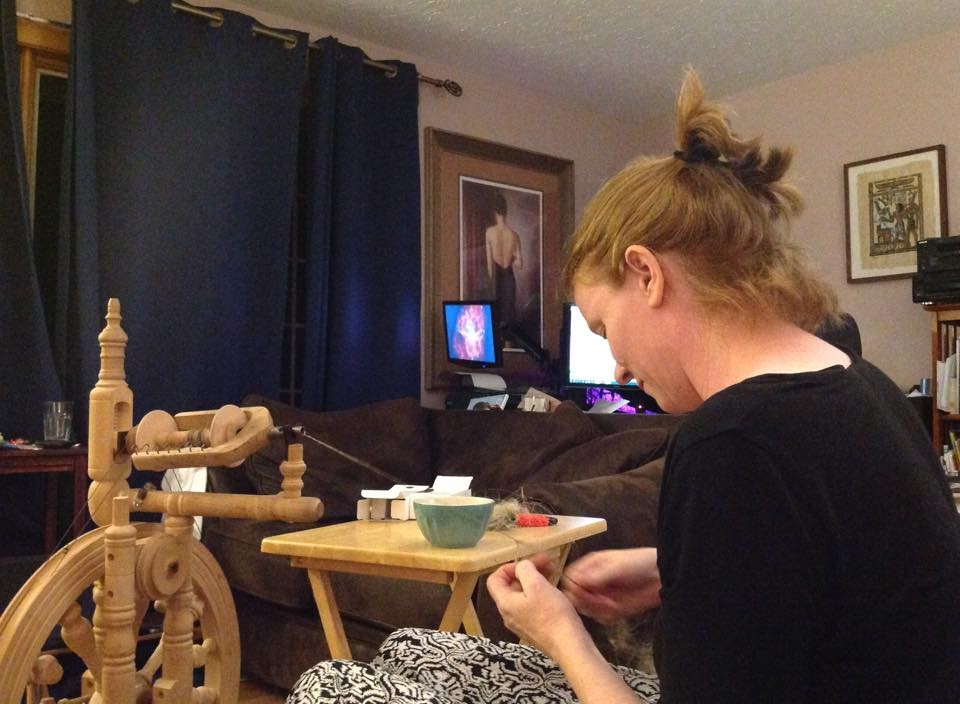
Finally, the fibre is ready to be spun into yarn
This is my first lesson.
Most of the linen thread on the threadwinder was spun by Greta Thorfinnsdottir,
a very capable spinner. The sloppy bits
are mine.
Bibliography /
Bibliographie
Bening,S. Illumination, November: Preparing flax for linen,
Da Costa Hours, Belgium, Bruges, ca. 1515
Owen-Croker, G.R. Dress in Anglo-Saxon England. 2004.
Sherman, Heidi. From Flax to Linen in the Medieval Rus Lands
Sherman, Heidi. The Flax and Linen of Medieval Novgorod.
Book
Walton Rogers, P. Textile Production at 16-22 Coppergate; in
Textiles and Textile Production, ed.Hedges.
Hirst K.K. 2016. 5,000 Years of Making Linen: The History of
Neolithic Flax Processing
British Museum, The
twelve months with signs of the Zodiac, Print on paper, 1530-1562.


 Yay! Woad!